I’m back with the final steps in making Limoncello!!! In case you missed the first part of this spirited journey, you can find it here. 🙂
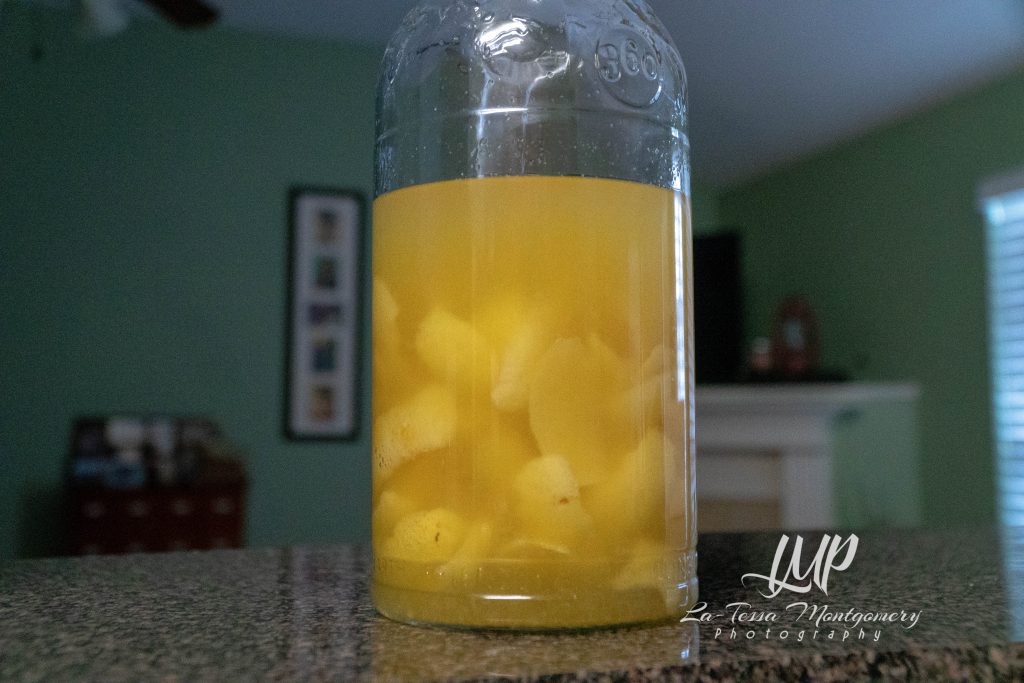
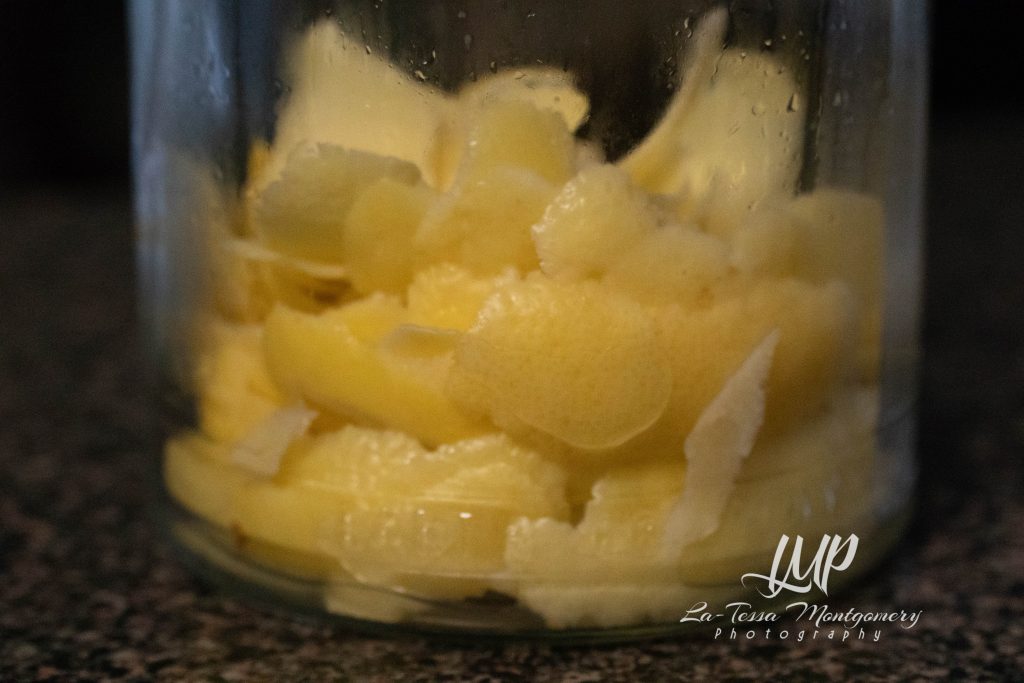
So if you remember, I’d prepared my lemon peels and begun the infusion process. I was shooting to let it sit and be great for 20 days… I made it exactly 9. 😀
Limoncello Journey: part 2
Ok, so let me explain myself. My source recipes varied on the exact length of the infusion time. I saw timeframes of anywhere from 3 to 40 days, with 20 being the target time of the “official Italian” recipes. Since I included the juice of the lemons (as suggested from one of the recipes), my infusion had a really nice color and aroma after 9 days. I was content to proceed with the next step in the process.
Ingredients:
- Limoncello infusion (found in part 1 of Making Limoncello)
- Simple Syrup– recipe found here
Optional for Limoncello Crema
- Milk
- Vanilla (optional)
- Sugar
Directions:
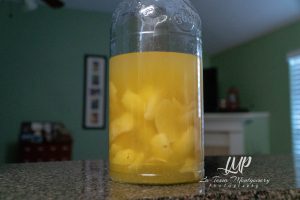
First, decant your Limoncello infusion made during step 1 (lemon peels soaked in Everclear and the juice from the peeled lemons). I decided to split my infusion in half to make both traditional Limoncello and Limoncello Crema.
With this being my first batch, I figured I really didn’t need that much Limoncello at my fingertips, because I know me. 🙂 This way, I can make adjustments to my recipes, fine tune them for both versions, and get the next batch going.
Traditional Limoncello:
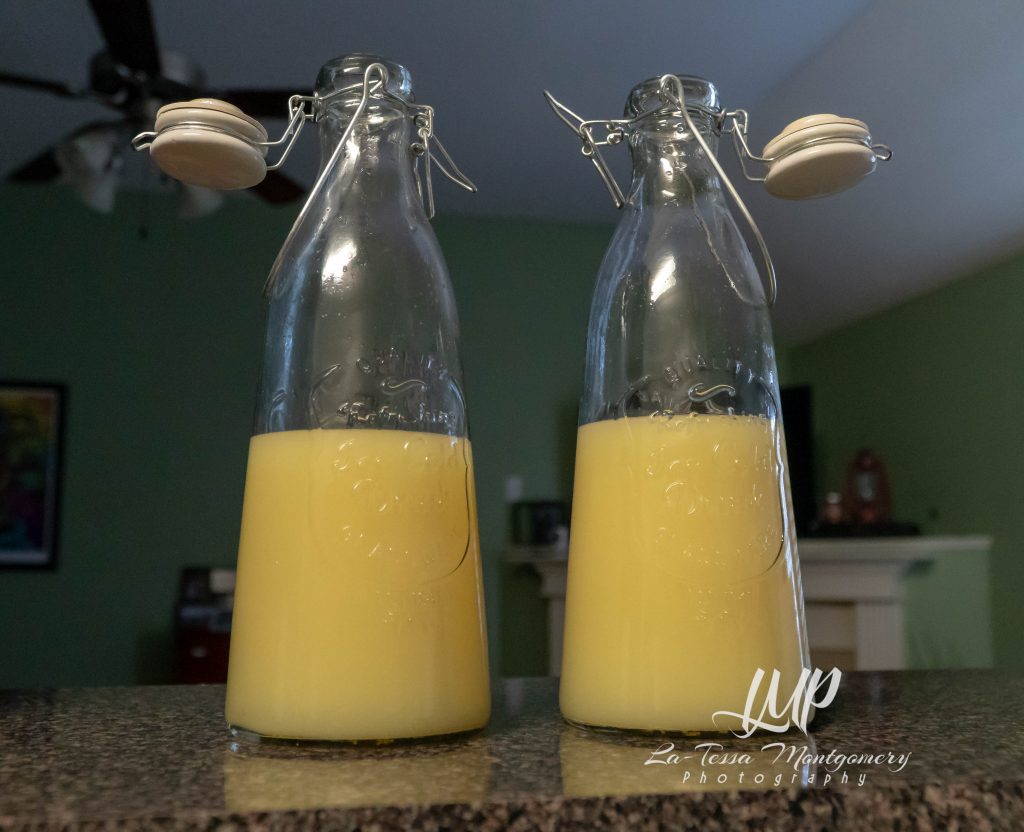
- Pour half of the decanted mixture into a glass container (about 3 cups or so)
- Add 1 cup of completely cooled simple syrup
*Note– amount of simple syrup needed will depend on the volume of your infusion and whether or not you used the lemon juice during the process. Since I’d already diluted my infusion with about 12 ounces of fresh lemon juice and was using only half of the infusion, I used 1 cup of the simple syrup to cut the liquor & produced the desired level of sweetness I wanted.*A benefit in using the juice is cutting the mixture without watering it down. If you decided against using the juice, you will definitely need to increase the amount of simple syrup and water when sweetening yours. - Shake well to combine
- Take a whiff (it smells so good), take a small sample to ensure it’s the level of sweetness you want
- Seal it up and place in the fridge for about a week to allow it to mellow and the flavors to combine more.
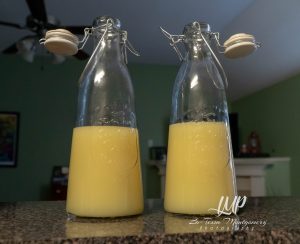
Limoncello Crema:
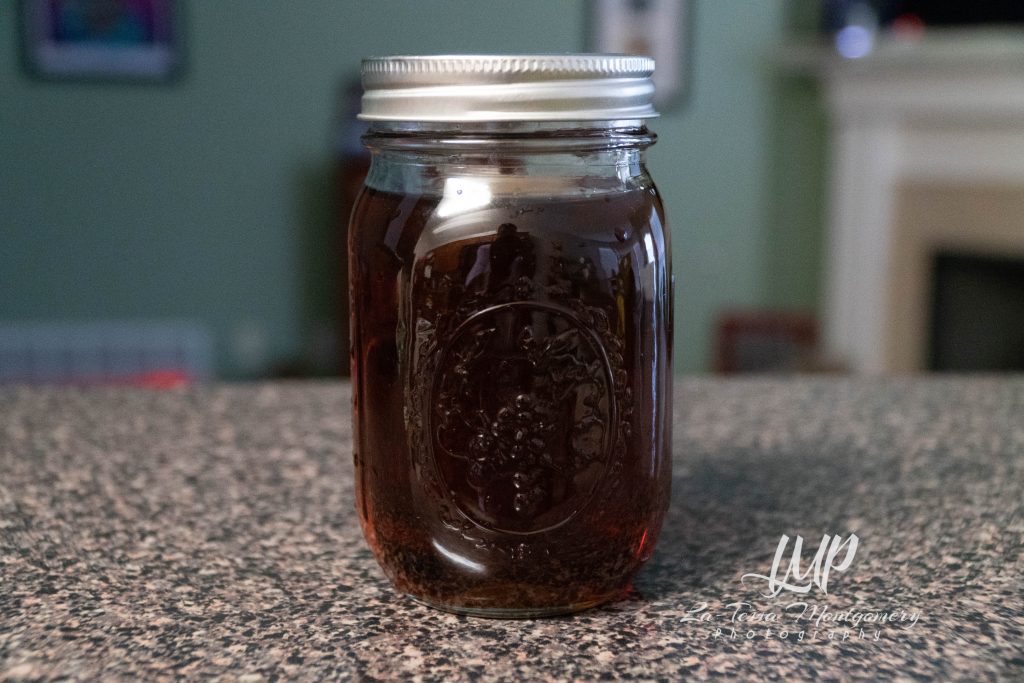
- Put the remaining half of the infusion into a glass jar
- Add milk simple syrup
*Note- I used 2 cups of vanilla almond milk and 2 cups of sugar. An alternative is to use 2 cups of regular milk, 2 cups of sugar, & 2 teaspoons of vanilla (or 1 whole vanilla bean). Heat and stir until sugar is melted. Allow to cool completely before using. - Shake well to combine
- Take a tiny whiff and a small sample
- Seal it up and place in the fridge for a week or so to mellow
Results & Notes for Next Time

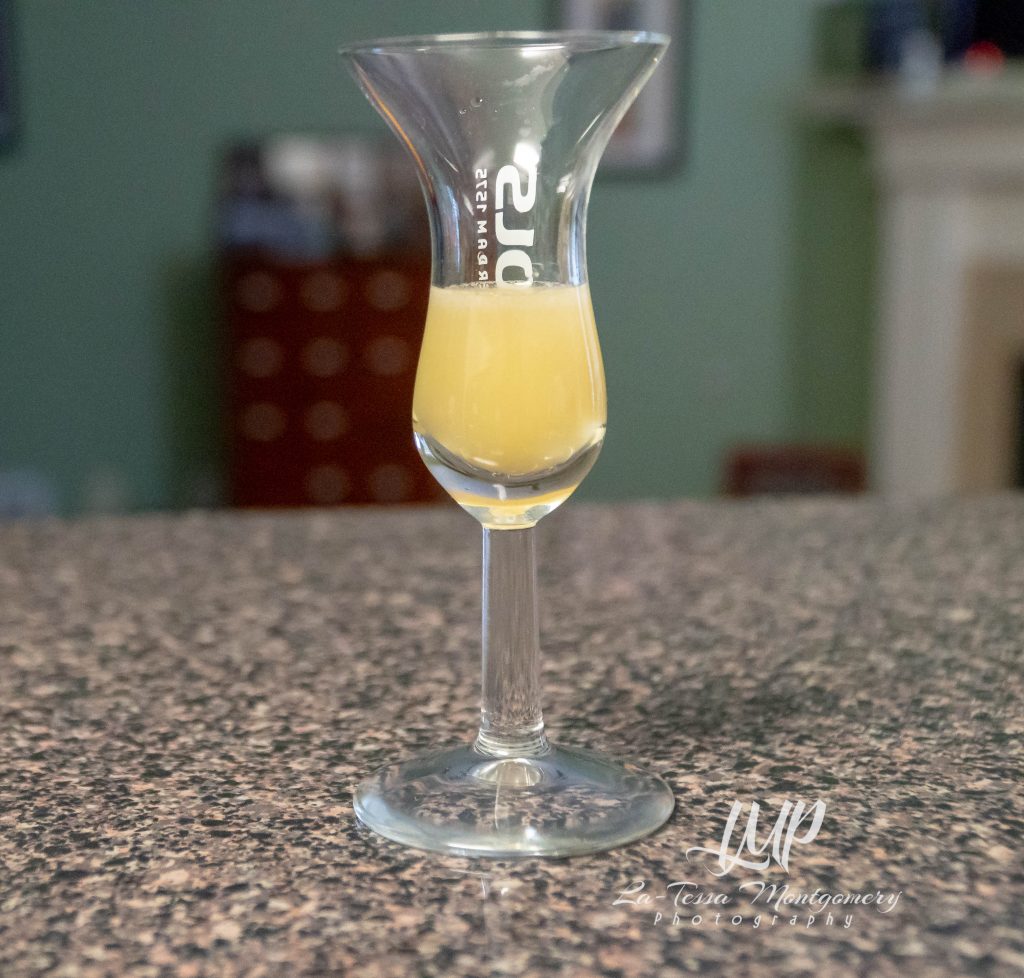
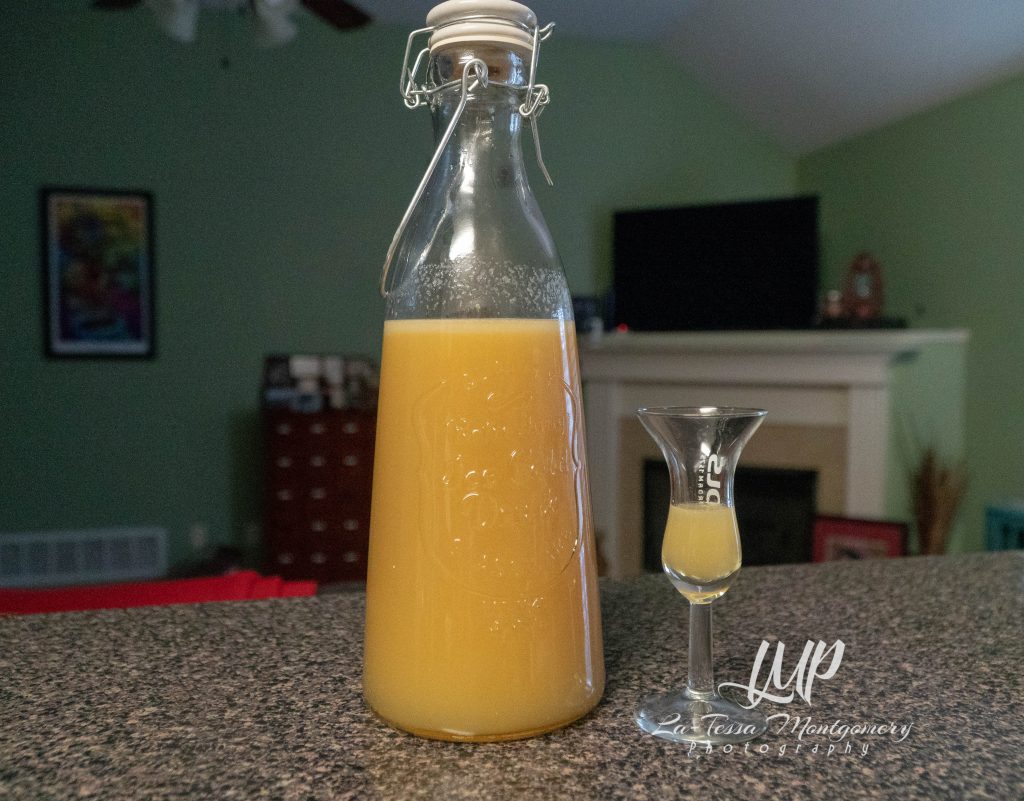
Overall, I really like my Limoncello! And I know what some of you are thinking, I love citrusy things, but I had it taste tested and it passed. So I know it’s good, and not just to me either-lol.
Now, I am about to put my next batch on so it will be ready in time for the holiday season & gift giving. I did learn some things that may help you when and if you decide to try your hand at making this delicious beverage. Next round, I plan to make an orange and grapefruit version– Orangecello & Grapefruitcello??? I don’t know, I’m sure I’ll come across a better name by the time it’s finished.
- Once you’ve let a week pass, store your Limoncello in the freezer–this will allow it to be kept for at least 6 months, no problem.
- Be sure to use organic lemon peels. This is very important as you are basically leaching all the flavor and color from the peels. If you cannot find organic, be sure to wash the lemons really well to remove any wax that may be on them.
- Use the juice in your infusion. I am convinced this is the best way to get a good, lemon flavor. And while you certainly don’t have to use the juice from all 10 lemons, at least use some of it. And by using the juice, you’ll need less water when it’s time to sweeten and cut your concoction.
- Let your batch sit for as long as you can, at least a week if you’re using the juice, longer if not. I found that I could shorten the time I let my infusion steep because it had a nice flavor and color from the lemon juice I included.
- I would make anywhere between 2-3 cups of simple syrup if you are going to make the traditional Limoncello only. Remember, the Everclear is 190 proof and needs to be diluted to bring the alcohol level down to a responsible level. Trust me, it still packs a mightly punch, but you don’t need your guests getting too tipsy off of a single 1 oz serving (#truestory- lol)
- I always use raw sugar, so my final product is deeper yellow, more amber. I am 100% okay with this as I do not use white sugar anymore. But if you want your final product to retain that sunshine yellow appearance, use white sugar.
- My Crema version is dark as well because almond milk is more of a beige color vs. white. So almond milk + raw sugar leads to a deeper colored Limoncello Crema. It tastes excellent though, which is all that matters to me. 😀 However, please know that using almond milk means your mixture will separate once it settles. I strained my mixture a few times to cut down on this, but it does not eliminate it. Again, a good shake, and you are all good to go.
- I can’t stress this point enough, if you are after the traditional clear, sunshiny yellow colored Limoncello, use white sugar, regular dairy milk or cream, and you may want to leave out the lemon juice. The juice, raw sugar, and nut milk will lead to a bit natural separation in the final product.




Comments are closed.